
I. The Importance of Deep Cleaning
Toaster are a staple on many family breakfast tables. Whether toasting bread, heating bagels, or making simple breakfast snacks, they quietly play the role of “starting your day with flavor.” However, after prolonged use, you might notice an unpleasant odor emanating from the inside of the toaster or even burnt crumbs and grease stains. These seemingly insignificant signs are actually a sign that deep cleaning has been neglected.
In a high-temperature baking environment, residual breadcrumbs and grease are easily carbonized and adhere to the heating element and tray, affecting heating efficiency and potentially releasing odors or smoke during the next use. More seriously, excessive crumb accumulation can lead to overheating and even pose a risk of short circuits.
Therefore, deep cleaning is not just an extra step for those who love cleanliness but a necessary safety maintenance. It not only determines the lifespan of the toaster but also affects the overall hygiene of the home kitchen. Regular, thorough cleaning is like giving the machine a “check-up,” allowing you to promptly eliminate potential problems and ensuring that every baking session is healthy, smooth, and controllable.
II. Reasonable Cycle for Deep Cleaning
There’s no absolute standard for how often a toaster should be cleaned; it should be dynamically adjusted based on usage frequency, ambient humidity, and the type of food. If you use your toaster to make breakfast five to seven times a week, then a deep cleaning once a month is a reasonable approach. This frequency effectively removes internal dust without damaging the machine’s structure due to over-cleaning.
If you use your food more frequently, such as if you have a large family or bake sweet breads or cheeses more often, these high-sugar, high-fat residues are more prone to carbonization. It’s recommended to perform a deep cleaning every two weeks. Sugar at high temperatures forms a caramelized layer, which not only affects the taste but also leaves hard-to-detect grime inside.
Conversely, if the toaster is only used occasionally, such as once or twice a week, then cleaning it once every two months is sufficient. However, before using it again after a long period of inactivity, a “reboot cleaning” should be performed—wipe the outer casing with a dry cloth, check the tray for any odor or moisture, and if necessary, use a low-temperature setting to preheat for 1 minute to remove any residual odor.
Seasonal factors should not be overlooked. Humid seasons are particularly prone to mold growth or moisture damage to electrical components, so cleaning cycles should be shortened accordingly. Conversely, in dry seasons, debris is more likely to turn into dust and be blown into the machine; therefore, keeping the external environment clean can indirectly extend the deep cleaning interval.
III. Steps and Techniques for Deep Cleaning
The key to deep cleaning is to be thorough without taking risks. The order of operations, the choice of cleaning agents, and the drying method are all crucial.
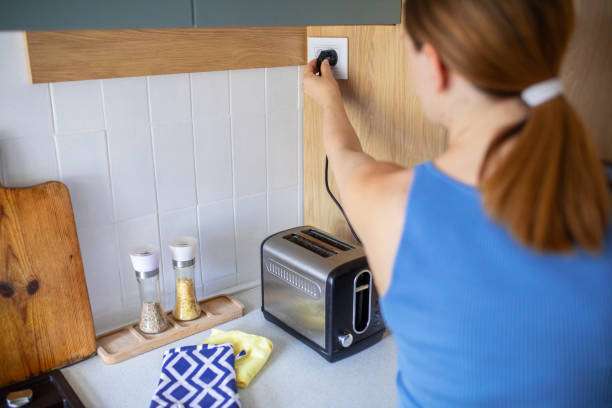
First, always unplug the power cord and allow the toaster to cool completely. Many people overlook this step; cleaning while the toaster is hot is not only dangerous but can also damage the heating elements due to sudden cooling. Next, remove removable parts such as the chip tray, grill rack, and clamps, and soak them in warm water for ten minutes. Then, gently wipe them with a soft sponge dampened with neutral detergent. Avoid using metal brushes or strong alkaline cleaning solutions, as these may scratch the surface or corrode the plating.
the toaster directly with water. Use a fine-bristled brush, long-handled cotton swabs, or a vacuum cleaner to clean away residue, especially in hard-to-reach areas around the heating wires. For stubborn burnt stains, mix baking soda with a small amount of water to form a paste, apply it to the stain, let it sit for a few minutes, and then wipe it off with a damp cloth. White vinegar is also a good natural deodorizer, capable of neutralizing odors and dissolving grease.
After cleaning, thoroughly dry all parts. Place them in a well-ventilated area, avoiding direct sunlight to prevent deformation of plastic parts. When reassembling, ensure all clips and slots are correctly aligned to avoid loosening or short circuits during use. Finally, preheat the heating element for one minute before first use to ensure no residual moisture remains inside.
IV. Combination of routine maintenance and deep cleaning
True “deep cleaning” shouldn’t wait until the machine gets dirty; it should be integrated with routine maintenance. A smart approach is to make “light cleaning a daily routine and deep cleaning a periodic practice.”
After each use, promptly remove the tray and empty the breadcrumbs. Wipe the outer casing and button area with a dry cloth to prevent grease buildup. If you don’t want to disassemble and clean it frequently, you can line the bottom of the tray with replaceable baking paper or aluminum foil and replace it after each use to significantly reduce residue buildup.
The toaster should be kept dry and clean. Avoid placing it in areas with heavy cooking fumes or near sinks to prevent oil or moisture from seeping inside. For households with children or pets, it is recommended to unplug the power cord immediately after use to prevent accidental activation or damage to the circuitry.
With routine maintenance, the workload of deep cleaning will be significantly reduced. Many users find that after regular maintenance, the toaster not only bakes more evenly, but the bread also has a purer aroma, which is actually a result of the restoration of the machine’s internal thermal efficiency.

V. Summary
The toaster is not only a necessary step in maintaining its performance but also part of home hygiene management. Scientific cycle management helps users achieve the longest possible lifespan in the shortest amount of time. For the average household, a monthly deep cleaning, combined with regular light wiping, can almost always keep the machine in optimal condition.
Remember, cleaning is not just about removing dirt; it’s crucial for extending the life of your equipment and ensuring food hygiene. Neglecting small maintenance issues often manifests later as unpleasant odors, uneven heating, or even failure to start. Conversely, a regularly cleaned toaster not only looks cleaner but also performs more consistently and efficiently with each heating cycle.
Reasonable cleaning cycles, proper cleaning methods, and scientific daily maintenance are the “three pillars” of toaster care. Make cleaning a part of your life, not just a temporary fix, and your kitchen appliances will reward you with more warmth and peace of mind.