
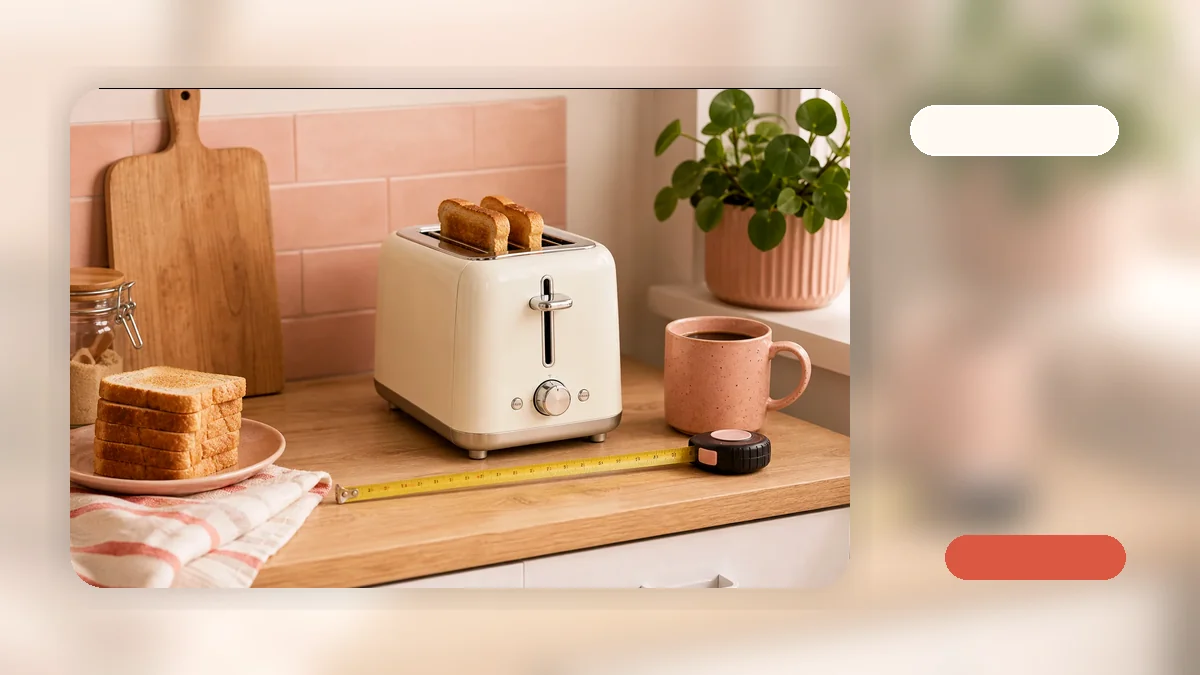
How to Toast Bread Without a Toaster: Simple Methods for Any Kitchen
If you’ve ever wondered how to toast bread without a toaster, you’re not alone. Whether your toaster broke, you’re in a dorm room, a vacation rental, or simply have a kitchen that’s too small for another appliance, knowing how to make toast without a toaster is a handy skill. It’s not about replacing a dedicated toaster—it’s about understanding how heat transforms bread so you can enjoy a crispy, golden slice whenever the need arises.
Why You Might Need to Toast Bread Without a Toaster
This situation comes up more often than you’d think. Your main toaster might be on the fritz, or you might be in a temporary living situation without one. Maybe you’re trying to keep your countertop clutter-free in a small apartment kitchen. In Nora’s experience editing home goods content, many first-time apartment renters or travelers don’t realize until the morning of how much they miss a simple toaster. This knowledge helps you adapt and still enjoy warm, crunchy toast for breakfast, lunch, or a quick snack.
For more foundational advice on choosing the right appliance for your space and habits, our toaster buying guide covers the essential considerations.
What You’ll Need Before You Start to Toast Bread Without a Toaster
Before you learn how to toast a bread without toaster, gather a few basic items. You likely already have most of these in your kitchen. The goal is to use direct or ambient heat to dry and crisp the bread’s surface safely and evenly.
- A Heat Source: An oven, a stovetop with a skillet or griddle, an air fryer, or even a campfire grill grate.
- Your Bread: Sliced sandwich bread, a bagel, English muffin, or even a slice of sourdough.
- Essential Tools: A baking sheet, a wire rack, a flat spatula, oven mitts, and a timer.
- A Cooling Surface: A plate or clean countertop to place the hot toast on immediately after cooking.
Always prioritize safety. Use oven mitts when handling hot pans, never leave your heat source unattended, and ensure children are supervised.
Step-by-Step Methods: How to Make Toast Without a Toaster
Here are reliable methods for cooking toast without a toaster. Each technique has its own best use case, so you can choose based on your equipment and how much toast you need.
The Oven Method (Best for Multiple Slices)
This is the closest simulation to a toaster’s dry, surrounding heat.
- Preheat your oven to 350°F (175°C).
- Arrange bread slices in a single layer on a baking sheet. For extra crispiness, place them directly on the oven rack.
- Toast for 4–6 minutes, then carefully flip each slice using tongs.
- Toast for another 2–4 minutes, watching closely for your desired golden-brown color.
- Remove immediately with oven mitts and transfer to a plate.
This method gives you even browning on both sides. To understand the science behind browning, you can learn how toasters heat bread.
The Stovetop Skillet Method (Quick and Direct)
Ideal for one or two slices when you want fast results.
- Place a skillet or griddle over medium heat. Let it warm for a minute.
- Place the bread slices directly on the dry, hot surface. No oil or butter is needed for a basic dry toast.
- Press down lightly with a spatula to ensure good contact.
- Cook for 1–2 minutes per side, adjusting heat if it starts to smoke or burn.
- The toast is done when it’s firm and shows dark spots of caramelization.
The Air Fryer Method (Crispy Results)
Air fryers are excellent for achieving a crispy texture quickly.
- Preheat the air fryer to 350°F (175°C) for 2–3 minutes.
- Place bread slices in the basket in a single layer. Do not overcrowd.
- Air fry for 3–4 minutes. There’s usually no need to flip, but you can check halfway through.
- Remove and serve immediately.
The Campfire or Grill Method
For outdoor cooking, use a grill grate over moderate coals or flames.
- Hold the bread with long tongs or place it on a grate positioned a safe distance from the heat.
- Toast for 30–60 seconds per side, moving it constantly to avoid flare-ups and charring.
- This method adds a subtle smoky flavor but requires your full attention.
How to Toast a Bagel Without a Toaster
Bagels present a unique challenge due to their density and round shape. If you need to know how to toast bagel without toaster methods, the oven is your best friend.
- Prep the Bagel: Slice the bagel in half horizontally. This is crucial for even toasting.
- Oven Method: Place the halves cut-side up on a baking sheet. Toast in a preheated 375°F (190°C) oven for 5–8 minutes. The cut side will become crispy while the outside warms through.
- Stovetop Method: Place halves cut-side down in a preheated, dry skillet over medium-low heat. Cover with a lid to trap steam and heat the whole bagel. Cook for 2–3 minutes until the cut side is golden and toasted. This helps maintain a chewy interior.
The key is using medium heat to warm the dense dough without burning the exterior. For more tips on getting the perfect result with different types of bread, see our article on adjusting toasting modes for different bread.
Common Mistakes When You Cook Toast Without a Toaster
A few simple errors can lead to burnt or uneven results. Here’s how to avoid them.
- Using Too High Heat: High heat burns the outside before the bread dries out inside. Always start with medium heat and adjust as needed.
- Overcrowding the Pan: This traps steam and leads to soggy, unevenly toasted bread. Leave space between slices.
- Walking Away: Unlike a toaster with an auto-off, these methods require you to monitor the process closely. Set a timer for the minimum time and check from there.
- Forgetting to Flip: In the oven or skillet, flipping is usually necessary to achieve browning on both sides.
How Do You Toast Bread Without a Toaster and Know When It’s Done?
Judging doneness without a dial requires paying attention to your senses.
- Visual Cue: Look for an even, golden-brown color across the surface. Pale toast will be soft, not crispy.
- Tactile Cue: The toast should feel firm when you gently press the center. It shouldn’t be flexible or spongy.
- Auditory Cue: You might hear a faint crackling sound as it cools—this indicates a good crisp.
- Use a Timer: Always set a timer for the minimum recommended time. Ovens and stovetops vary, so your first try might be an experiment. Write down what works for your setup.
When Should You Consider Getting a Toaster?
Learning these methods is valuable, but if you find yourself making toast multiple times a week, a dedicated appliance can simplify your mornings significantly. A toaster uses less energy than heating a full oven, heats up faster, and frees you to focus on other parts of breakfast while it works.
A compact model is particularly useful for small kitchens, apartment living, or dorm rooms. Features like wide slots accommodate bagels and thick bread, while a removable crumb tray makes daily cleanup simple—something that’s hard to replicate with a skillet or baking sheet.
If you’re considering one, our toaster buying guide breaks down the features that matter for your bread type and kitchen size. You can also shop all toaster products to see the options available.
Frequently Asked Questions
Can I toast bread in a microwave?
Technically, you can heat bread in a microwave, but it will not become toasted. Microwaves work by exciting water molecules, which results in a soft, sometimes rubbery texture, not the dry crispness of toast. For the best results, use one of the dry-heat methods described above.
How long does it take to toast bread in an oven?
In a conventional oven preheated to 350°F (175°C), it typically takes 4–6 minutes per side, for a total of 8–10 minutes. Convection ovens may be slightly faster. Always start with the lower time and check frequently, as oven temperatures can vary.
Is it safe to toast bread on a stovetop?
Yes, it is safe when done correctly. Use a dry skillet or griddle over medium heat. Never leave the pan unattended, as bread can burn quickly. Use a spatula to flip the bread and avoid direct contact with a very hot pan to prevent burns. Ensure proper ventilation if you see a little smoke.
Ready to simplify your morning routine? See our compact toasters designed for small kitchens and everyday toast →