
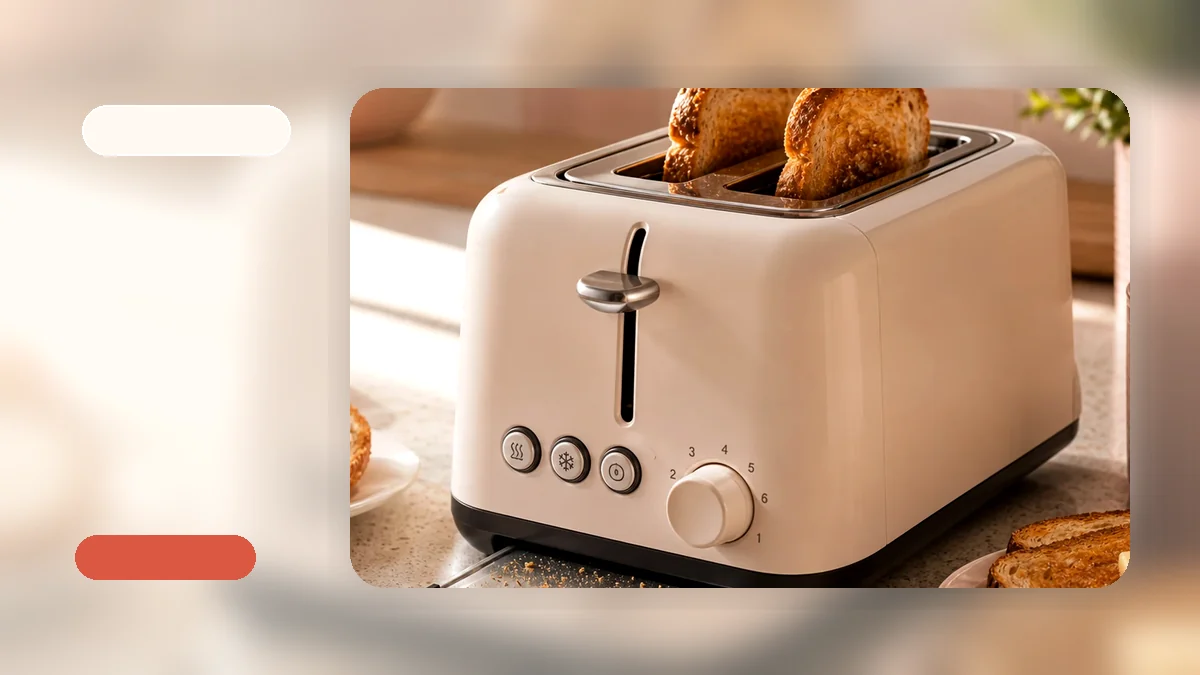
Toaster Not Working? Here’s How to Troubleshoot Common Problems
When your toaster is not working right before breakfast, it is frustrating. You put in the bread, push the lever down, and nothing happens — no heat, no glow, no satisfying pop when it is done. Before you assume the worst, there are a few safe checks you can do at home to figure out what is going on. This guide walks you through common causes, practical troubleshooting steps, and how to decide whether the problem is fixable or whether it is time to replace your bread toaster.
A quick safety note before we start: this guide focuses on safe, surface-level checks. We are not going to encourage you to open your toaster, rewire anything, or tamper with internal parts. Toasters are electrical appliances, and some problems need professional help or a new machine — not a DIY repair attempt.
Common Reasons Your Toaster Isn’t Working
There are a handful of reasons a toaster might stop working, and most of them are simpler than you would expect. Here are the most frequent causes we see across brands and models:
- Power source issues. This is the most common and most overlooked problem. If the outlet is not working, the plug is loose, or the cord is damaged, the toaster will not turn on — no matter how good the machine is.
- Crumb buildup. Over time, crumbs collect inside the toaster and around the heating elements. Heavy buildup can block heat, cause burning smells, or even produce smoke. A removable crumb tray makes routine cleaning easier, but many people forget to empty it regularly. If your crumb tray has not been cleaned in weeks, that is a good place to start.
- Lever or shade control problems. The lever that holds the bread down can wear out or get stuck. Shade control dials or buttons can also fail, leaving the toaster stuck on one setting or not responding at all.
- Internal wiring or heating element failure. If the toaster has visible damage, smells like burning plastic, sparks, or produces smoke, internal components may have failed. These problems are not safe to fix at home.
In our experience, crumb buildup is the cause people are most surprised by. A toaster that was working fine last month can start acting up simply because the crumb tray is full and debris is sitting near the heating elements. For a detailed look at keeping your toaster clean, see our toaster care and cleaning guide.
Step-by-Step Troubleshooting: What to Check First
If your toaster is not working, here is a safe, step-by-step process to narrow down the problem. Work through these checks in order.
- Check the power source. Make sure the toaster is plugged in securely. Try a different outlet to rule out a tripped breaker or faulty socket. Inspect the power cord for visible damage — fraying, kinks, or exposed wire. If the cord is damaged, stop using the toaster.
- Empty and clean the crumb tray. Unplug the toaster first. Pull out the crumb tray, discard the crumbs, and wipe it down. Turn the toaster upside down over a trash can and gently shake out any loose debris. This alone fixes a surprising number of cases where a bread toaster is not working properly.
- Test the lever mechanism. Push the lever down and see if it stays engaged. If it pops back up immediately or does not click into place, the internal mechanism may be worn out. Some levers have a “high-lift” feature for small bread — if this part is damaged, it will not hold properly.
- Check the shade control. Make sure the browning dial or digital setting is not stuck between levels. Set it to a mid-range number and try again. If the shade control feels loose, unresponsive, or makes an unusual noise, it may indicate a mechanical fault.
- Look and listen for warning signs. If you see smoke, smell burning plastic (not just normal toasting), or hear sparking sounds, unplug the toaster immediately. Do not attempt further troubleshooting. These signs suggest internal damage that needs professional assessment or replacement.
A note about the toaster magnet — some users search for “toaster magnet not working” when their toaster lever will not stay down. In most modern toasters, the lever is held by a small electromagnet inside the unit. If this magnet fails, the lever will not latch. This is typically an internal component issue, not something you can safely fix at home.
Toaster Not Working on One Side: Understanding the Issue
One of the most specific complaints we hear is that the toaster only toasts on one side. If you have a 4-slice toaster and two of the slots work while the other two do not, or if bread comes out half-toasted, here is what is likely happening.
In a standard toaster, each slot has its own heating elements on both sides. When one side is not heating, it usually means one of those elements has failed. This can happen due to age, wear, or accumulated debris near the element. In some cases, the wiring that connects to one side of the toaster has come loose or burned out.
A toaster with one side not working is not necessarily dangerous on its own, but it does indicate an internal fault. You can try cleaning the crumb tray and making sure nothing is physically blocking the affected slot, but if the problem persists, the heating element or wiring likely needs attention. For safety reasons, we do not recommend opening the toaster to investigate further.
If your toaster has been working on one side for a while and the issue keeps coming back, it is usually a sign that the appliance is reaching the end of its useful life. Replacing it with a reliable model is often more practical and safer than repeated troubleshooting.
Brand-Specific Notes: Delonghi, Black and Decker, and Others
Many people search for help with a specific brand — “Delonghi toaster not working” or “Black and Decker toaster not working” are common queries. While every brand has its own design details, the core troubleshooting steps are largely the same across manufacturers.
Here is what we mean by that. Whether you have a Delonghi, a Black and Decker, a Hamilton Beach, or any other brand, the most frequent problems are still power issues, crumb tray buildup, lever mechanism wear, and shade control problems. The fixes we described above apply to almost all of them.
What does change between brands is the warranty process, the availability of replacement parts, and how the manufacturer handles service calls. If your toaster is still under warranty, always contact the manufacturer first before attempting any fixes. Many brands have dedicated support lines for troubleshooting, and some will send a replacement unit if the problem qualifies.
For brand-specific part failures — like a broken lever on a Delonghi or a failed heating element on a Black and Decker — our general advice is the same: consider replacement over DIY repair. Small kitchen appliances like toasters are not designed to be user-serviceable, and opening one up without the right tools or knowledge can create electrical hazards.
When to Stop Troubleshooting and Replace Your Toaster
Not every toaster problem is worth fixing. Here are the signs that your toaster has likely reached the end of its road:
- Burning smell that does not go away after cleaning. If you have emptied the crumb tray and the burning smell persists, there may be damage to internal wiring or insulation.
- Visible sparking or smoke. This is an immediate safety concern. Unplug the toaster and do not use it again.
- Repeated failure to heat. If the toaster works intermittently or stops heating entirely after basic checks, internal components have likely failed.
- Physical damage to the housing, cord, or plug. Cracked housing, exposed wires, or a damaged plug are all reasons to stop using the appliance.
- The toaster is more than 5–6 years old and problems keep returning. At that point, the cost of repeated troubleshooting — and the safety risk — usually outweighs the cost of a new, reliable toaster.
When it is time to replace, think about what actually matters for your morning routine. A practical starting point is our toaster buying guide, which helps you choose by bread type, kitchen size, breakfast routine, and budget. If you have a small kitchen and mostly toast sandwich bread or bagels, something like the Classic Compact 2-Slice Toaster for Small Kitchens is a straightforward option — simple controls, a clean countertop footprint, and a removable crumb tray for easy cleaning.
FAQs: Quick Answers to Common Toaster Problems
Why is my Black and Decker toaster not working?
The same troubleshooting steps apply to Black and Decker models as to most other brands. Start with the basics: check that it is plugged into a working outlet, empty and clean the crumb tray, test the lever mechanism, and check the shade control. If none of these resolve the issue and the toaster is still under warranty, contact Black and Decker’s customer support. If it is out of warranty and showing signs of internal failure (burning smell, sparking, no heat), replacement is usually the safer and more practical option.
What does it mean when a toaster only works on one side?
When a toaster is not working on one side, it typically means one of the heating elements or its wiring has failed. This is an internal issue. You can clean the crumb tray and check for debris, but if the problem continues, the toaster likely needs to be replaced. Continuing to use a toaster with a failed heating element can be unpredictable and is not recommended.
How can I tell if my toaster is beyond repair?
Look for these signs: a burning smell that persists after cleaning, visible sparking or smoke, repeated failure to heat even after checking power and cleaning, or physical damage to the cord, plug, or housing. If your toaster shows any of these symptoms, unplug it and stop using it. In most cases for countertop appliances, replacement is safer and more cost-effective than repair.
Is it safe to use a toaster that smells like burning?
A faint smell the first time you use a new toaster can be normal — some manufacturers note this in their manuals. But a persistent or strong burning smell is a warning sign. Unplug the toaster, let it cool completely, and clean the crumb tray thoroughly. If the smell returns after cleaning, do not continue using the toaster. Burning smells can indicate damaged wiring, overheated components, or debris near heating elements — all of which carry safety risks.
What is the “crazy toaster game not working” search about?
This search term usually refers to a video game or mobile app called “Crazy Toaster” or similar — not a kitchen toaster issue. If you landed here looking for help with a game, this article will not address that, unfortunately. But if you are dealing with an actual toaster that is not working, the troubleshooting steps above should help.
How often should I clean my toaster to prevent problems?
A good habit is to empty the crumb tray once a week if you use your toaster daily. Crumb buildup is one of the most common reasons a toaster starts acting up — it can block heating elements, cause smells, and affect performance. For a complete cleaning routine, see our toaster care and cleaning guide.
If troubleshooting does not resolve the issue, it may be time for a fresh start. You can browse all toaster products to find a model that fits your kitchen, your breakfast habits, and your budget.